What is Docker?
Docker is an open platform for developing, shipping, and running applications.
If you’ve done any sort of web development before, you know the hassle of having to setup a dev environment just for a single project, and all the mess that comes with dealing with XAMPP and other such software.
Docker makes it easy by bundling everything together in self-contained containers, which means you can run multiple different versions of the same app on the same device without any headaches.
So how do you get started?
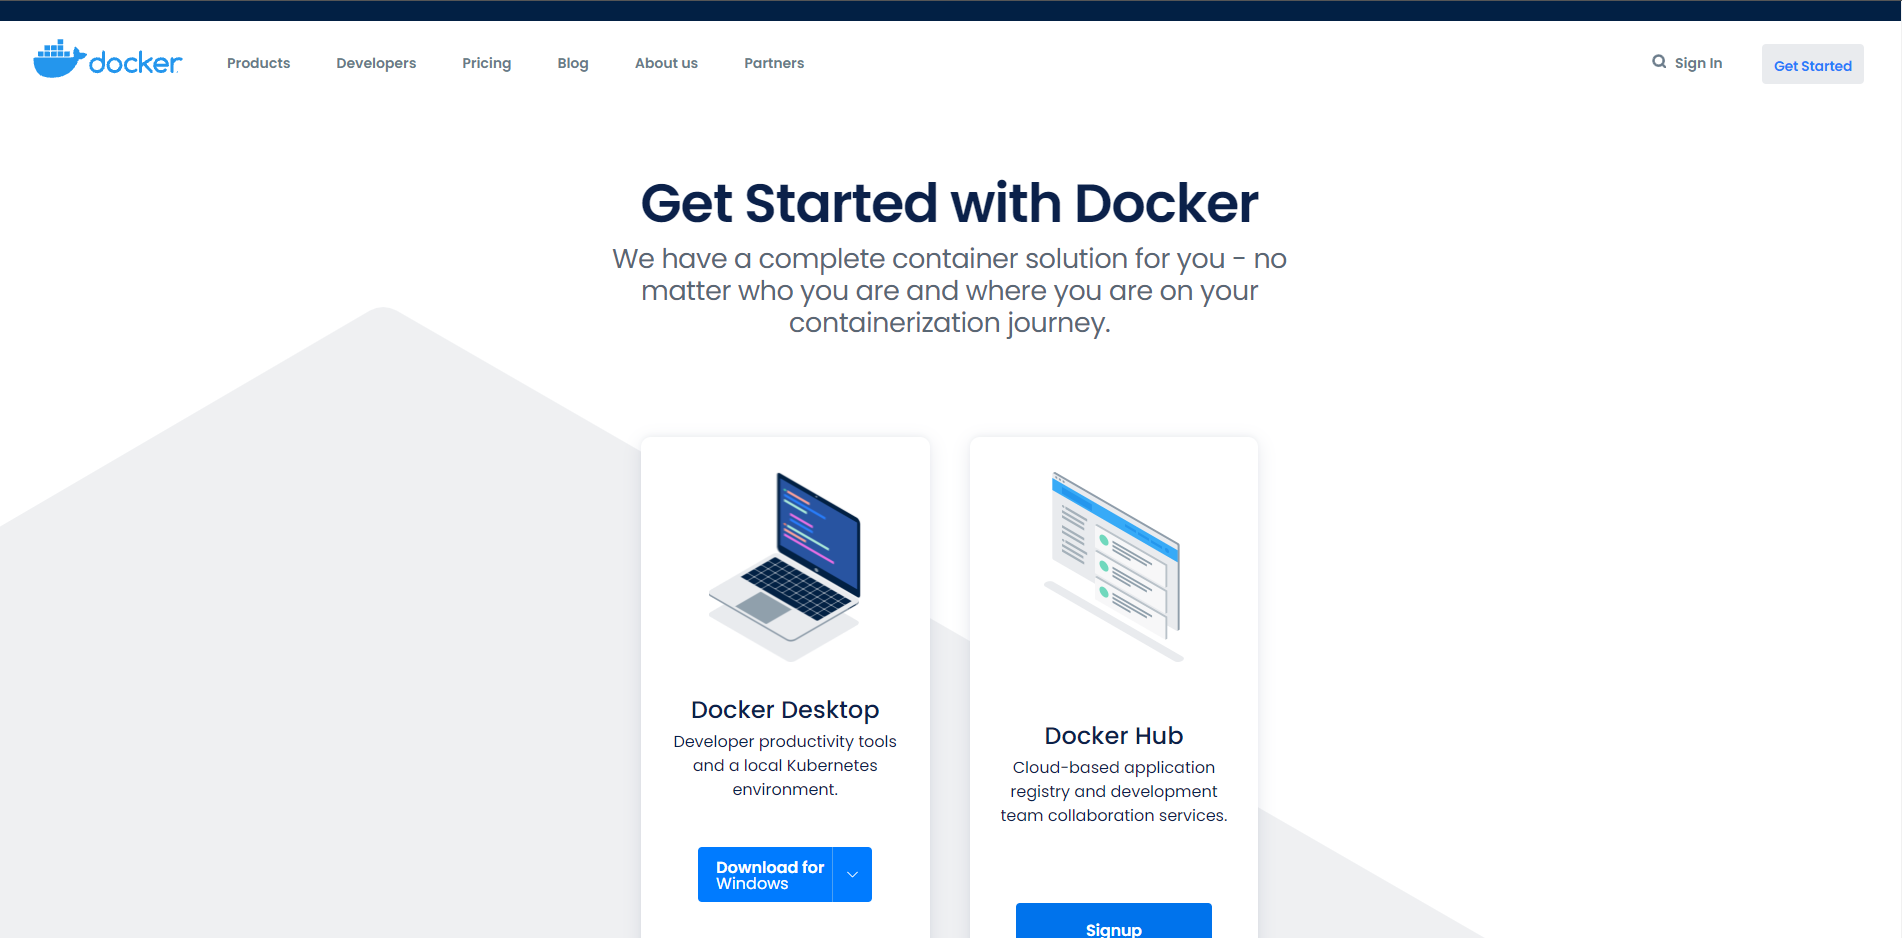
Step 1. Head to docker.com/get-started and download the latest version for your device, also ensure that you have Visual Studio Code installed.
Step 2. Once Docker Desktop is installed and running, you want to now create a folder to hold the project files. For this tutorial I will use the folder wp-dev.
Step 3. Once the folder is created open the folder inside of Visual Studio Code. Create a file called docker-compose.yml
Inside the docker-compose.yml file insert the following code:
version: '3.7'
services:
  wordpress:
    image: wordpress:latest
    restart: unless-stopped
    ports:
      - 8001:80
    depends_on:
      - db
    environment:
      WORDPRESS_DB_HOST: db
      WORDPRESS_DB_NAME: ${DB_NAME}
      WORDPRESS_DB_USER: ${DB_USER}
      WORDPRESS_DB_PASSWORD: ${DB_PASSWORD}
    volumes:
      - wordpress:/var/www/html
      - ./wordpress/wp-content:/var/www/html/wp-content
      - ./wordpress.ini:/usr/local/etc/php/conf.d/wordpress.ini
  db:
    image: mariadb:latest
    restart: unless-stopped
    environment:
      MYSQL_DATABASE: ${DB_NAME}
      MYSQL_USER: ${DB_USER}
      MYSQL_PASSWORD: ${DB_PASSWORD}
      MYSQL_RANDOM_ROOT_PASSWORD: '1'
    volumes:
      - db:/var/lib/mysql
  adminer:
    image: adminer:latest
    restart: unless-stopped
    ports:
      - 8002:8080
    depends_on:
      - db
volumes:
  wordpress:
  db:
The code creates three services: WordPress, DB, and Adminer. As you can guess DB, refers to the Database System that WordPress will use to store user and plugin data. Adminer acts in the same way as phpmyadmin, which is that it allows you to access and interact with the WordPress database, and of course WordPress.
This configuration creates a local wp-content folder inside the wp-dev on your machine that allows you easy access to themes and plugin files.
Step 4. Create a .env file in the same directory as your docker-compose.yml file
A .env file allows you to reuse information in docker-compose files without needing to individually re-enter information like database names and passwords.
Insert the following to your .env file:
DB_NAME=wp-dev-db
DB_USER=wp-dev-user
DB_PASSWORD=wp-dev-pass
Step 5. Create a wordpress.ini configuration file
This file allows you to override the default php configuration file, so that you can upload larger files or even extend the time scripts can run for before throwing an error.
Insert the following lines to your wordpress.ini file
file_uploads = On
upload_max_filesize = 128M
post_max_size = 128M
memory_limit = 256M
max_execution_time = 300
Step 6. Start your stack.
Once you’ve completed all the steps above now its time to run your stack. Thankfully Visual Studio Code has a handy terminal window at the bottom.

Simply head to the terminal window and enter the following command
docker-compose up -d
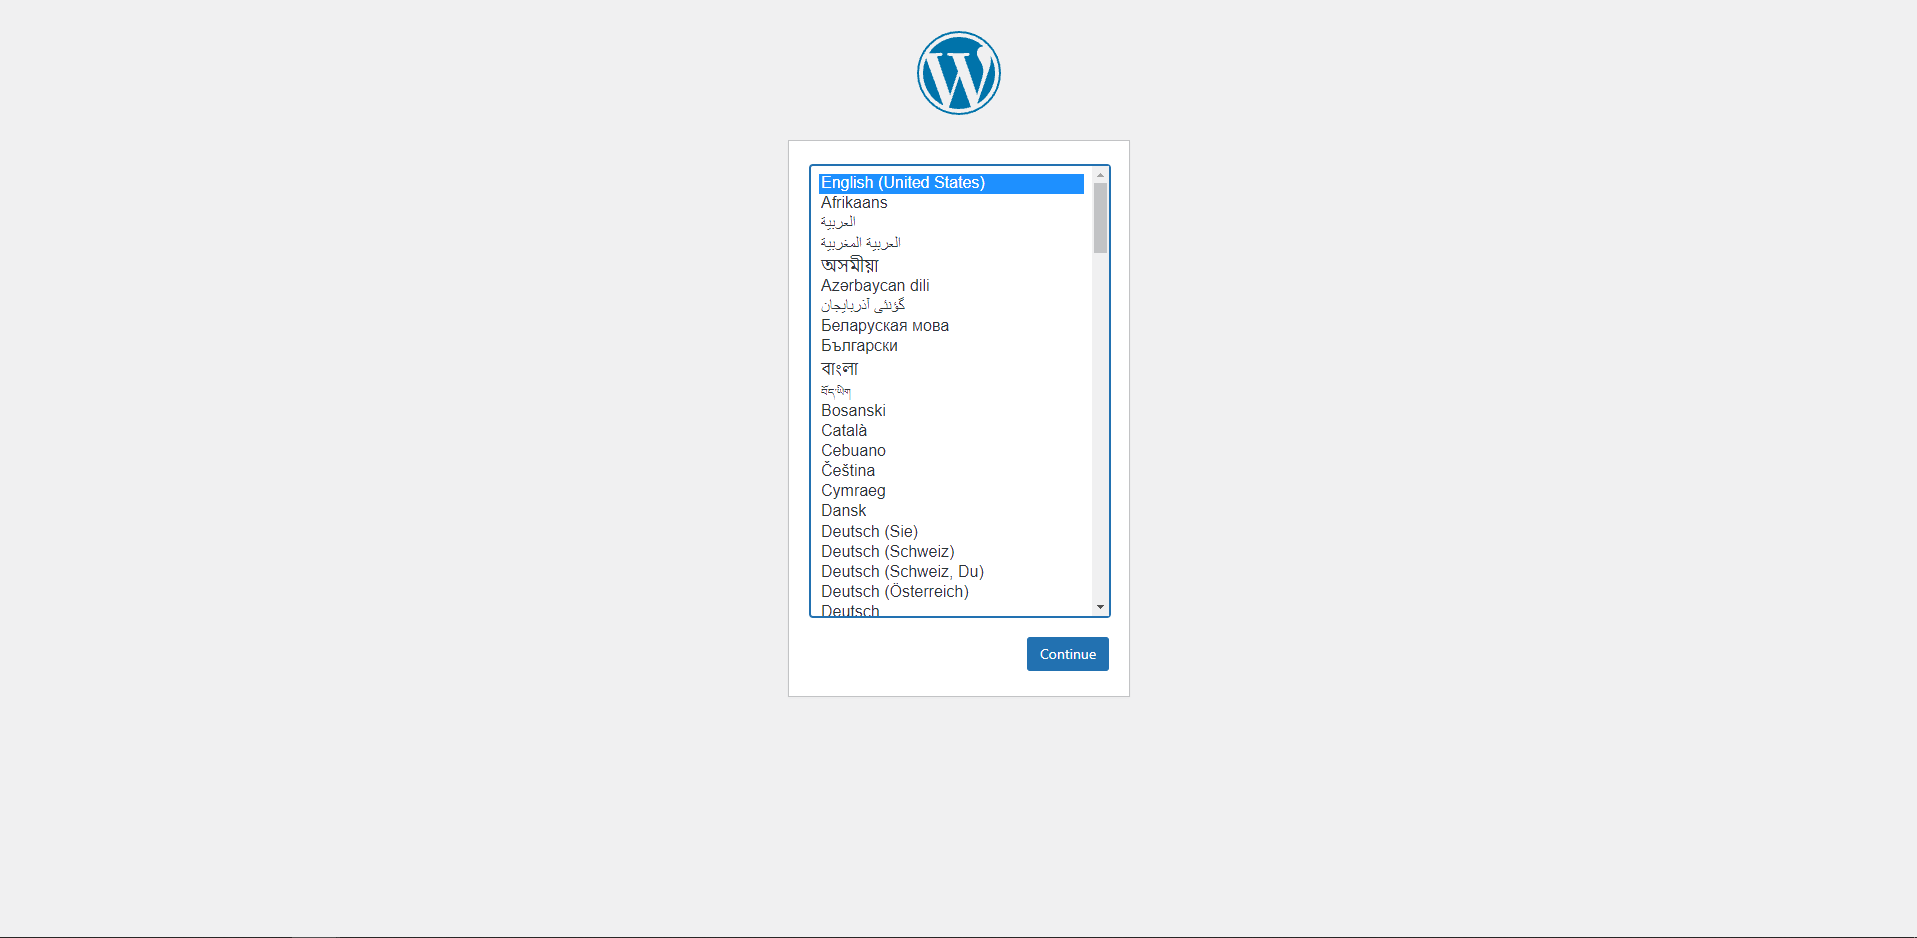
Once everything is finished you can now head to your local WordPress url in a browser, which should be [your-device-ip]:8001, and complete the usual WordPress installation.
Some commands that might come in handy as you get better
docker-compose up -d --force-recreate --remove-orphans
–force-recreate forces the existing container to be recreated so that any changes to the configuration or .env file are implemented when it starts again.
–remove-orphans removes containers that are no longer used by the docker-compose file.
Conclusion: If you’ve made it this far then congratulations you’ve just created your first docker stack.